
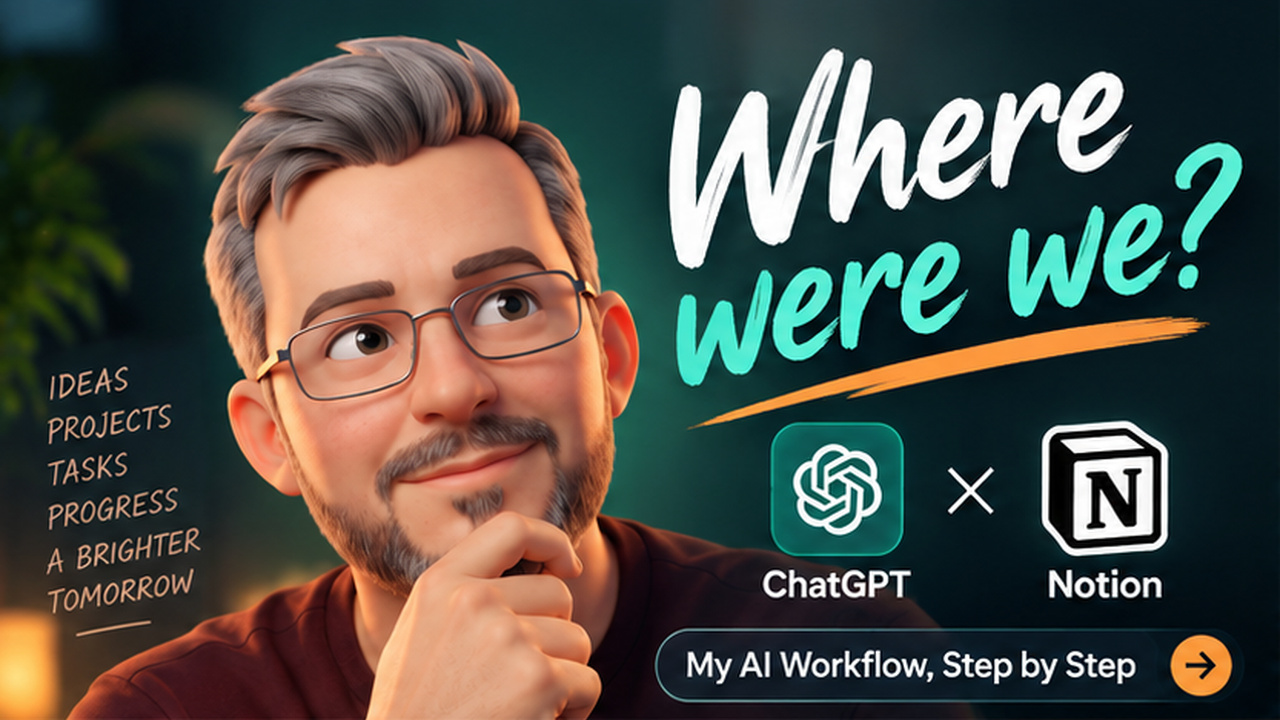
When I come back to a project, I want to know where it stands. What are we trying to do? What has actually been done? And is the next step waiting for me?
Those are fairly ordinary questions. They become more interesting when some of the work happens in conversations with AI, some in project files, and some in the decisions made between them.
Field Notes 01, our first Burnt & Toast video, is about my use of Notion and ChatGPT, and the thinking behind that setup. I wanted to make something useful for people working out their own way of organising projects with AI.
Giving each task somewhere to live
I already used a project handover document to carry useful context between sessions. That remains part of the work. Adding Notion gives me a place to organise the individual tasks, their owners, their status and what needs to happen next.
For a particular task, I want the brief and the result close enough together that I can compare them. I want to see the sources it used, what was checked, and anything still unresolved.
This also gives ChatGPT a specific record to consult when I ask it to pick up a piece of work. I can inspect the same record myself and check that we are talking about the same task.
There is still a little administrative work involved. Apparently giving the paperwork a nicer home does not make it fill itself in.
Keeping the first example small
While preparing the video, I came back to a simple question: could someone use this to get started themselves?
It is quite easy to show a finished system. Explaining how someone takes the first useful step requires a bit more care.
The starting point I settled on was one project and one task. A clear outcome, enough source material to work from, and a way to decide whether the result is ready for review.
The practice project starts with a short introduction. The main worked example then follows a second task: writing a one-line tagline. Small enough to read and check properly. It gives us something concrete to discuss, revise and save without needing to explain an entire software project first.
A draft still needs a decision
In the tagline example, I ask for a warmer version before accepting it for saving. The original brief stays intact, and the task is left in Review, with Human review as its next action.
That makes the next step visible. There is a draft to look at, along with its checks, and a decision still to make about using it.
ChatGPT can help prepare the work and organise the record. I decide what I accept and what is ready to go out into the world. I would rather have that decision written down than implied by a particularly confident paragraph.
Being able to pick it up again
The useful habit is returning to the record and checking it. Has the result been saved where we expected? Does the status reflect what has actually happened? Is the next action clear?
A task page needs maintaining as the work changes. So does a handover document. I still need to judge the work itself, and ask for further checks when the evidence is incomplete.
That is the part of this setup I want to explore: keeping enough structure around AI work that I can follow it, question it and decide what happens next.
If you are trying to organise your own projects with AI, I hope the video gives you a useful place to begin. Start with a task you can check for yourself. There will be plenty of time to give the system more departments later.
The video description includes the practice brief, operating instructions and prompts, so you can refer back to them as you go.